Author: admin (Page 3 of 6)

Adding keywords to blogspot

One of the things that I wanted to do recently was add keywords to this blog so that it is more easily listed by the search engines.  I had assumed that there was going to be a simple way of adding these in the blogspot control panel.  Unfortunately not.  It needs to be done manually.  Here’s how.

1. First, sign in to blogger; at Dashboard, click “Layout” tab; then click “Edit HTML”.
2. Find this line of code :

You could press Ctrl+F to use “Find” function of your browser.

3. Copy three line below and paste after the line we found at step 2.

DESCRIPTION name=’description’/>
KEYWORDS name=’keywords’/>
AUTHOR name=’author’/>

4. Replace the words in red with your appropriated content.

Dry stone walling – Day 4

Well, four days in – actually four half days – and this is how far I have got.  And I keep thinking the next time I come here, I will reach the top (the top is just underneath the white wooden clamps). So I reckon that I am about half way up. Mmmm. 

Day four – and about half height

To be fair, there have been a few distractions the last few days and today was no exception.  With the plan to put sheep on the bottom field, we had to put up a temporary fence around the septic tank.  The wooden railway sleepers that cover the top of the tank are looking pretty rotten.  I am not sure that they will support the weight of a sheep, but I have no intention of finding out!

Temporary fence around the septic tank

I suspect that we will need to erect an electric fence around some of the field.  Although the walls and fence are (for the most part) in reasonable shape, they are a bit low in places.  Still, we will see.

Dry stone walling – Day 3

Well, it wasn’t really a whole day – just a morning as I got distracted.

I spent about 3 hours this morning dis-assembling and digging out the footings for another 2m stretch of wall.  I am being “less precise” with this stretch of the wall and doing the best I can with the current wall stone.  Yes, it is horrible and rounded, but for this field wall I am just going to have to do my best.  Shipping in huge amounts of new stone to build a field wall seems like a huge amount of wasted time and effort (not to mention money!).  I am hoping that by the end of this weekend that I will have at least part of the wall up to the finished height.  We will have to see.

Not much to look at for 2.5 days work.

I then faced two distractions in the afternoon.  Firstly, measuring out where the new extension will be and marking this out on the ground.  I haven’t got an electronic version of the plans, so haven’t had chance to post them here yet. Jo is concerned that you will be able to see into the master bedroom from the road.  I took the new plans that we have and used road pins to mark out where the master bedroom is going to be.  This was a useful exercise.  We now know that it will be very difficult to see into the bedroom from road level.  And if we are still in any doub, a small dry stone wall on the crest of the rise would totally block the view from the road.

The second distraction was cutting the grass on the top field.  Rob kindly brought his tractor (and daughter – Ellie) to help with the job.  It took about an hour or so to cut the grass.  Strangely, it has a tendency to find all the stones in the field!  This slowed progress, but I now think that the majority of the loose stones have been removed.  We will have to see.  This is the last time that the field will have to be cut this year.


Rob showing the grass whose boss!
Rob and Ellie – Houston we have a problem!

The lower field has a lot more of slope, so the current plan is to graze some sheep in the lower field to get the grass down to more of a manageable level.  We just need to find out where we can borrow some sheep from!


Dry stone walling: Day 2

Well after the progress made yesterday – wall dismantled, foundations dug and first course laid – today was somewhat disappointing.  Disheartening even.  In 4 hours, I managed 6 or so courses and the 2m section of wall I was working on reached about 0.5m, maybe less.  The main problem (besides my lack of skill) is that most of the stones that make up the wall are pretty much rounded boulders.  The rock is made up of very coarse gritstone which is very soft and crumbly – you could try and shape it with a hammer, but that is going to be real hard work.

Setting out the new section of wall


So what do you do? In short, no idea.  Looking at the surrounding fields, the same problem is present – walls (or what used to be walls) made up of rounded gritstone.  There are some walls on the property that are made from a much finer sandstone and the stones here are much flatter with defined angles.  I would imagine that the stone for these walls has been brought in from elsewhere, but probably not too far away.
Option 1: Bring in building stone and remove the old boulders.  This isn’t going to work.  The new stone would cost a fortune to buy on this sort of scale, plus what would you do with the old stone?  This seems like a sledge hammer to crack a nut.
Option 2: Rebuild the wall using the existing gritstone.  Improving the wall isn’t going to be hard as part of it has fallen down and even if it hadn’t, it could do with being straight!  It won’t be perfect, or pretty for that matter, but it will do the job.  Since the wall does have some building material in it, I could sort these stones out and use them to repair some of the walls nearer to the house. 


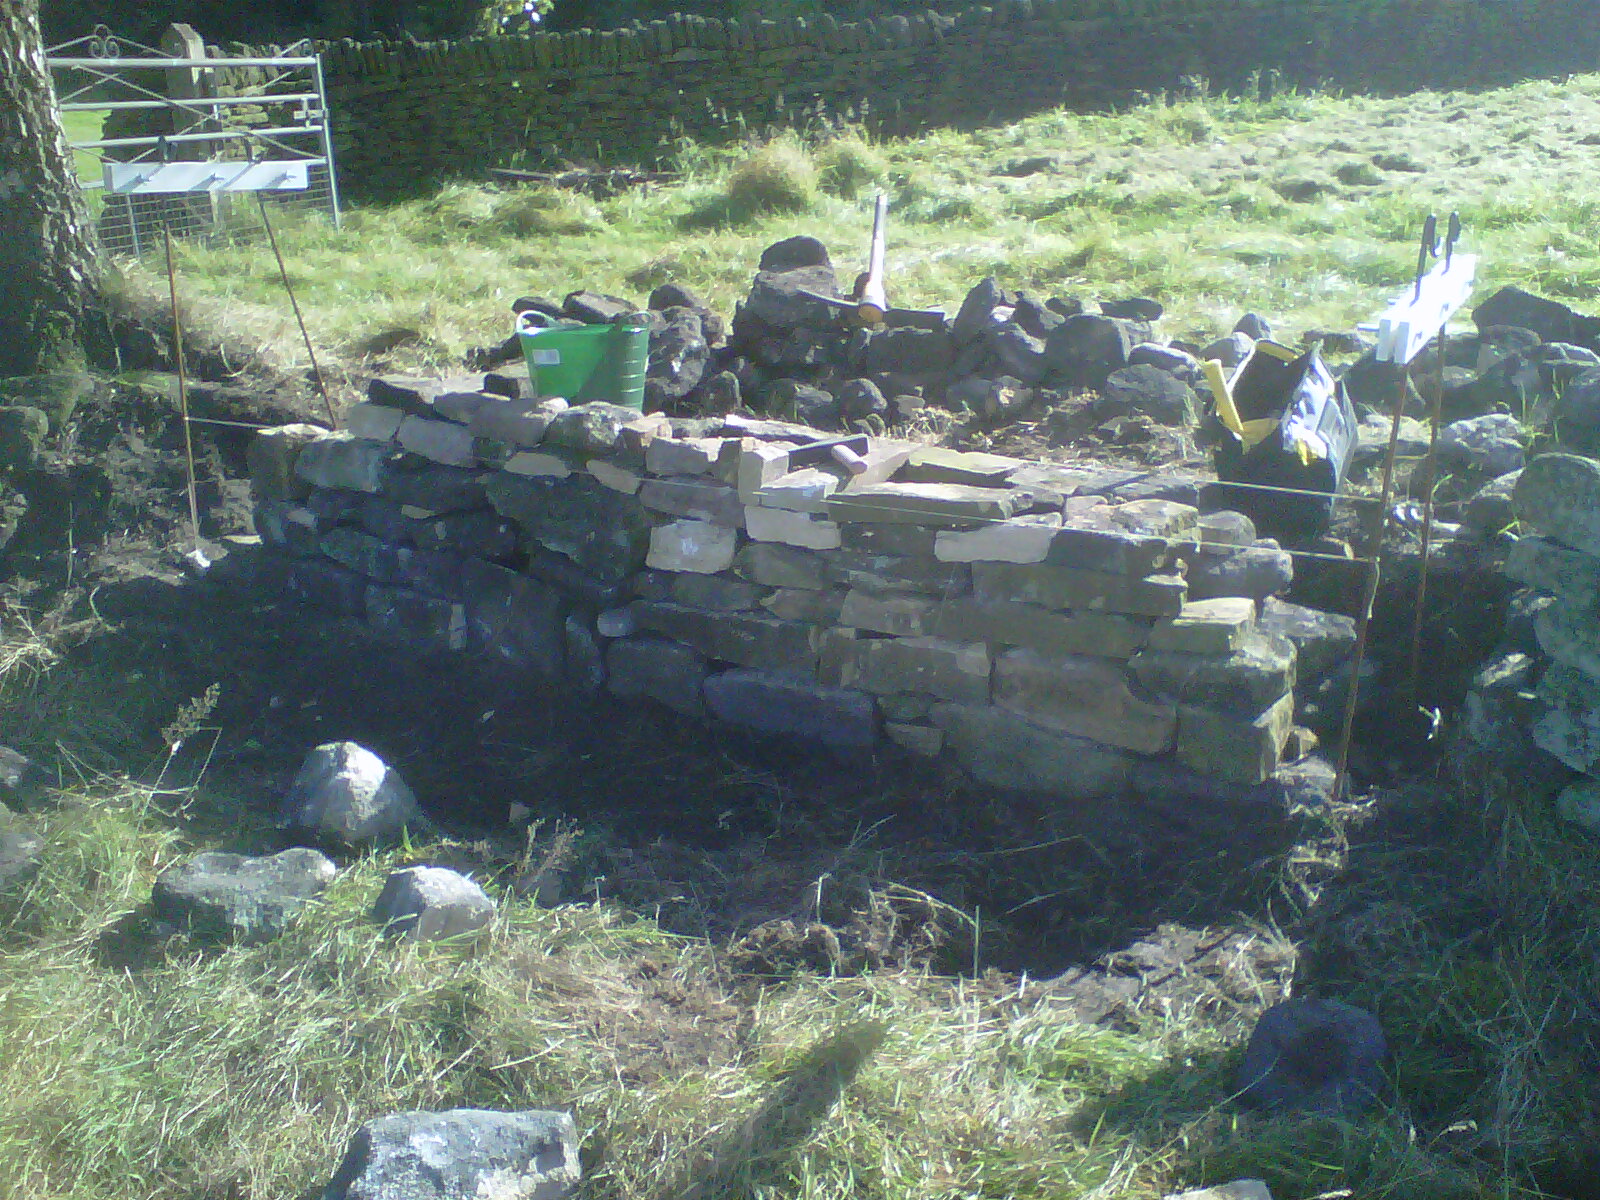
Not much for two days work – a (very small) wall and a lot of left over boulders


As far as I can see, Option 2 is the only real practical solution.  I could do with getting some advice from someone with a lot more experience than me.  Just in case I am missing something obvious – it is a lot of work for some to then point out that there was an easier solution!

The next step has to be looking at the other field walls and finding a section that is relatively intact.  This will give an idea of the size and proportion of the walls.  I can then see if we can build something that is similar.  Ho hum.

Dry stone walling: Making a start

It would have been easy to have started making minor repairs to some of the walls, but I decided that it would be better (and more rewarding) to completely dismantle a section of all and rebuild it. 

I decided that the best place was one of the walls where I could make some mistakes, well out of sight.  With potentially 150m of wall to be repaired, the task is fairly daunting.  So I thought it would better to strip down and repair a 2m section.  Let’s not strip down 10m, then work out that I can’t really rebuild it! 

All in n a day’s work

A stripped out section of wall and the foundation stones

So today in 4 hours, I managed to strip down a 2m section, dig the foundations and put in the foundation stones.  Tomorrow, I will see if I can rebuild this section of wall up to the coping stones.

I did take a while to mark out the line of the wall (to ensure that my 2m section is in line with the remainder of the wall).  The road pins in the photos are set to be 600mm at the base of the wall and 300mm at the top (set as a metre high).  The top of the road pins are held in place with some home made wooden clamps.

Dry stone walls – Yikes, where do you start?

I spent sometime last weekend taking a closer look at the dry stone walls and their condition.  The good news is that the ones on the roadside are in reasonable shape.  The bad news is that the rest are in various different conditions – most of them not good.  And there is a lot!  Probably 150-200M of wall that needs to be completely rebuilt and maybe another 50M that needs to be repaired.

Dry stone walls in various states of decay

The images above (all from around the property) give some clues about the task at hand. Pretty daunting. It is difficult to know where to start.

I reckon that some of the walls that in better condition date from around the time of the enclosure acts (1845-1880).  However, some of the other walls (e.g. top most left image above) show up on the 1788 map and barely qualify as a wall.  So they are at least another 100 years older. They almost look like a field boundary where the stones have been piled up at the edge of the field as the fields were ploughed.

With a bit of practise (remembering that I have only done a weekend course on dry stone walling), I reckon I might be able to do a metre per day.  With a 150M, that is a lot of days!

Front elevations

Ok, so these are the front elevations – today and in May 1978 before it was converted from three properties into two.  I have included the rear elevations here.

You can quite clearly see where the old front door used to be for number 9 as well as the fact that new windows appear to have been added upstairs (as stated on the old plans).

The old plans were in a bit of a “distressed” state.  To view a larger image, just click on the picture.


Front elevation – today (above) and in 1978 (below)

Rear of the property

Well, we have been struggling to work out what the property used to look like in the past.  And now we know.  At least, what it looked like 34 years ago – in May 1978.  We have the architects drawings when the property was three separate cottages and before they were combined into two. The present owners found the plans when clearing out.

I have scanned in the architects drawings and matched them up with the recent elevations that we had done.  I have combined them in single images so that you can see the differences.  To view a bigger version, just click on the image itself.

Rear elevation: Today (above) and in 1978 (below)

The old drawings show that the ground level at the back of the property used to be just underneath window level at the back. This was reduced when the work was completed. We aren’t show if the conservatory was added at the same time.

Searching for treasure

As men grow old, they face an undeniable urge to go in search of treasure.  Like so many that have gone before me I had to submit to the urge………and bought a metal detector!

Existing elevations

Here are the architect’s drawings of the elevations of the existing property.  I think they have done a great job, but there again I am always a sucker for these sort of engineering drawings!  You can zoom in by clicking on the images.

My hand drawings are elsewhere on the blog, so these just go to show how bad my drawings really are!  I didn’t want to publish any of this material until after we had completed on the purchase – it seemed to be tempting fate otherwise.


Front elevation
Front


Rear elevation
Back


Left hand end
Left hand end


Right hand end
Right hand end
« Older posts Newer posts »

© 2024 Hagg Leys Farm

Theme by Anders NorenUp ↑