Category: orchard (Page 3 of 4)

First mow of the season

Last year we cleared out the orchard.  All the non-fruit trees were taken down, we cleared back all of the undergrowth and removed an old chicken run and a wooden shed.  The only problem now is that there is grass to mow.  The grass has really taken off in the last couple of weeks.

While it is never going to be a lawn, we need to keep the grass under control just to make accessing the orchard a little bit easier.  We already have a lawn mower, but it is a small electric one – it is not going to be man enough to handle the orchard.

Now, I am never one to resist buying power tools, so this has to be an opportunity to purchase a petrol lawn mower.  After a bit of research, it looks like the best option is a mulching lawn mower.  This will cut the grass to a very fine mulch and leaves it on the lawn as a fertiliser.  So there is no need to collect the grass in a grass box.  This means that it is quicker to mow the lawn and then there are no clippings to get rid off.

After talking to Fisco mowers in Wakefield (www.fisco-online.co.uk), I decided on a Stiga.  I can’t recommend these guys enough – always helpful, they set up the machine, show you how to use it, and are only marginally more expensive that buying it online (in fact the Stiga was the same price).  I prefer to support local businesses wherever I can.  If you need advice, talk to Oliver.

The Stiga is a powerful machine (4.5 bhp) that is going to be more than enough to cut the grass in the orchard.  And first impressions are great, it cut the grass without any problems at all – it seems to start first time and cuts the grass with ease.  The finish is surprisingly good.  Hopefully, not too good.  It isn’t meant to be a lawn!

We cleared out the undergrowth in the orchard last year - an old chicken run, brambles and an old shed.  The down side is that we now have some grass to cut.

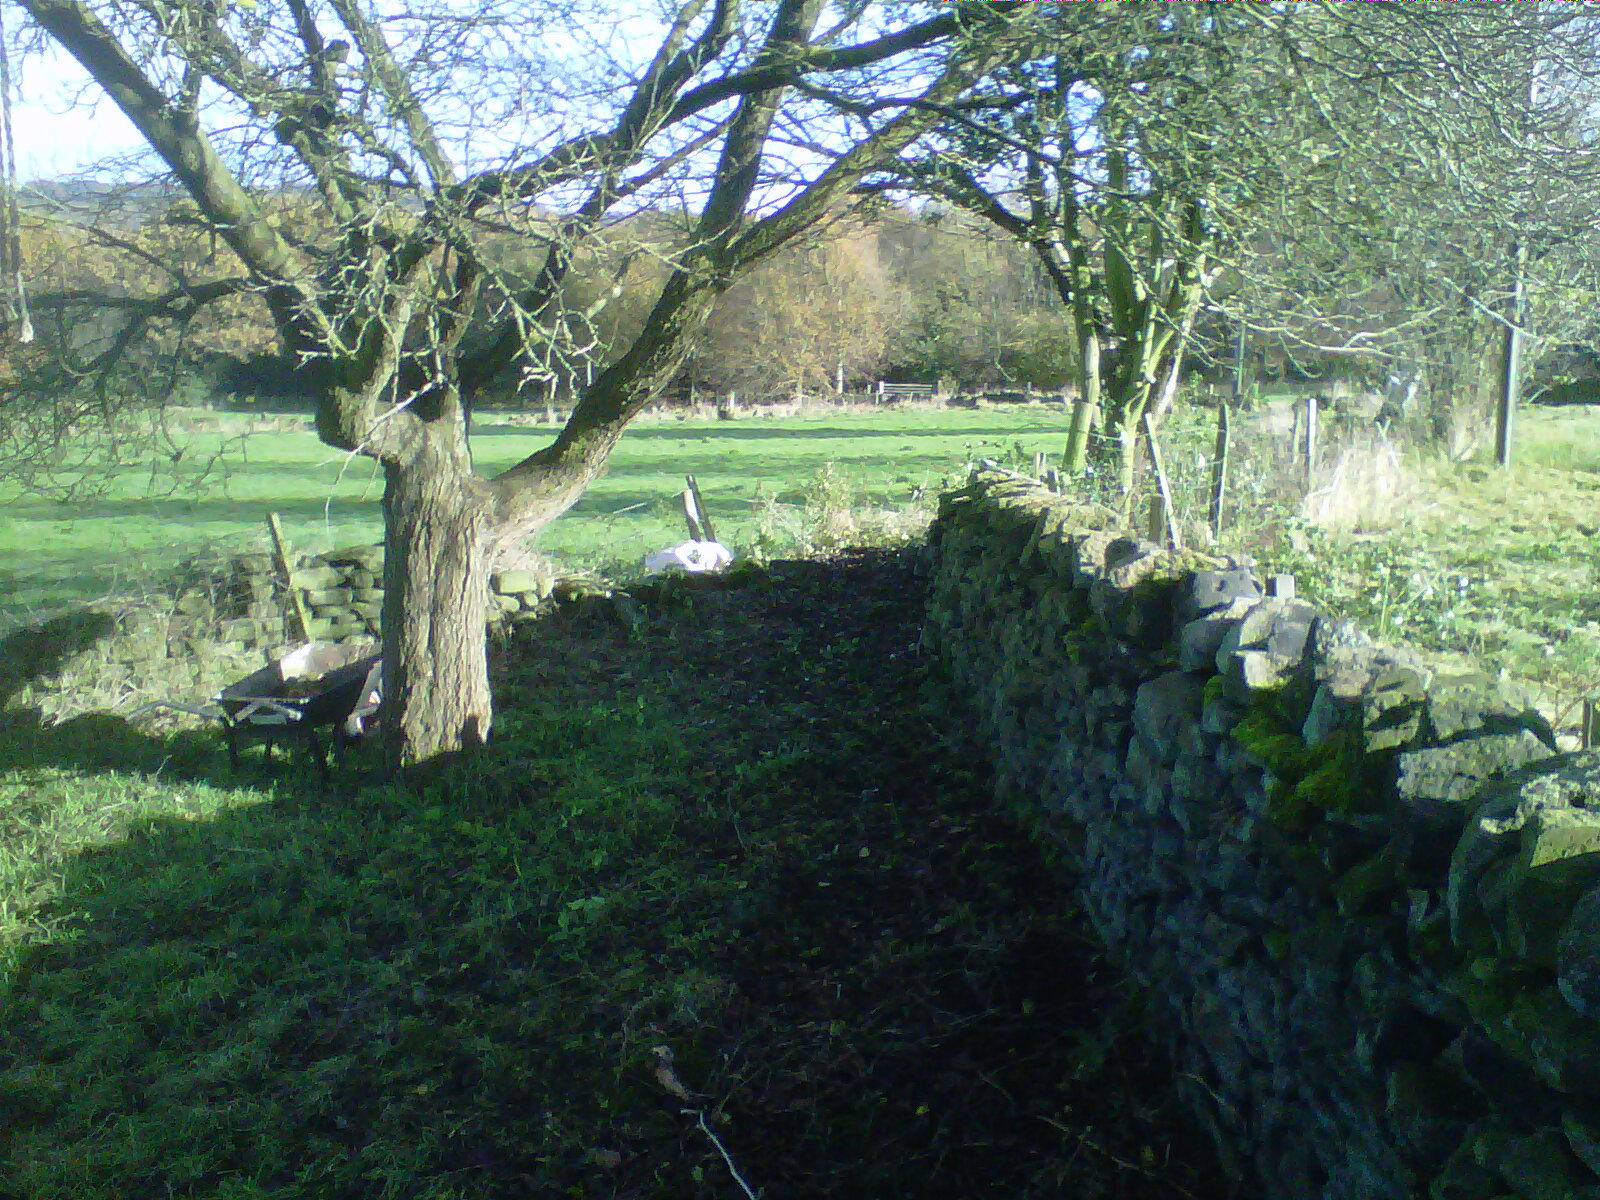
We cleared out the undergrowth in the orchard last year – an old chicken run, brambles and an old shed. The down side is that we now have some grass to cut.

It will never be a lawn, but it is a lot tidier now!

It will never be a lawn, but it is a lot tidier now!

Dry stone walling – day 18

Well, the weather has improved enough for us to be outdoors.  It was hovering just above freezing, but it didn’t notice too much as long as you kept moving!

We are still working on the wall in the orchard and are now using some of the stone that has been removed during the renovation.  Since the one side of the wall is higher than the other, the first five courses on the orchard side are actually underground.  This means that there is an opportunity to use any old stone in these courses as they won’t be seen.  This provides the opportunity to get rid of some of the stone that has been removed while renovating the smaller cottage.  This consists of concrete blocks, old bricks and the occasional patio slab. This is quicker to lay as the material is more uniform and has flatter edges.  This feels like a bit of a “cheat”, but since the material can’t been seen and it saves the stone for the rest of the wall, I can’t see why not.

We did remove some stone that made up the rather awful 1970’s fireplace in the smaller cottage.  This roughly matches some of the stone in the wall, so we have decide to use this.  It will be seen, but as long as none of the machined edges face out on the wall, I think they will blend in OK, particularly once they have weathered a bit.

Now we have removed the shed in the corner and some of the undergrowth, people who drive by can see us working on the wall.  This has led to numerous cryptic comments in the local pub.

Still working in the orchard.  You can just some a couple of pale grey bricks hidden at the bottom of the right hand side of the wall.  The first 5 courses on this side are hidden underground since this provides an opportunity to get rid of some of the material that we have removed.

Still working in the orchard. You can just some a couple of pale grey bricks hidden at the bottom of the right hand side of the wall. The first 5 courses on this side are hidden underground since this provides an opportunity to get rid of some of the material that we have removed.

Clearing out the orchard – Day 5

With the last of the sheds gone from the orchard, we can now start to clear out the last patch of the orchard.  This is the triangular piece of land furthest away from the house.  It had become overgrown with holly as was as a very old (and largely rotten) alder tree.  The chainsaw and a set of croppers soon had this area cleared out.  The brambles that had grown throughout the dry stone wall were particularly time-consuming to remove.

The larger pieces of timber were cut into logs, the rest was put onto a bonfire on the site of the old shed.

It took most of the day to clear out this area, but now we can start to see the state of the dry stone.  Despite it’s condition, you can see that the it was never really straight!  We will rectify this as it gets rebuilt.  With all of the undergrowth gone, it will be much easier to mark out the position of the new wall.

With all the undergrowth gone, you can see the true state of the dry stone wall,

With all the undergrowth gone, you can see the true state of the dry stone wall,

With the shed now gone, it is time to finally clear out the last part of the orchard

With the shed now gone, it is time to finally clear out the last part of the orchard

Shed #3 bites the dust

The weather today was ok.  No rain, no snow and just about 3 degrees Centigrade.  So it was time to start looking at removing the two sheds in the orchard.  The large shed behind the outbuildings needs to go as this is where the polytunnel is going to go.  This shed is twice the size as those that we removed previously, so we knew that it was going to be a bigger job than before.

This is the third one that we have taken down, so we have worked out the best approach.  Firstly, you need to remove all of the metal and glass before attempting to dismantle.  Next the ridge needs to be removed from the roof.  Often this is key to holding the two sides of the roof together.  Next each side of the roof is slid off and the asphalt is stripped off.  With the roof gone, it is straightforward to use a chainsaw to cut up the panels.  Originally, we had tried to un-bolt the panels, but this proved difficult as many of the bolts were very rusty.  The final stage is to tip up the base and cut it into pieces.

Metal, glass and asphalt goes in the skip.  The wood goes on the bonfire.

Shed #3: Just behind the outbuildings and the largest (20ft x 8ft) of all the sheds on the property

Shed #3: Just behind the outbuildings and the largest (20ft x 8ft) of all the sheds on the property

Steel toe caps.  Well it is Valentine's day next week!

Steel toe caps. Well it is Valentine’s day next week!

With the roof removed, it is fairly easy to dismantle with the aid of a chainsaw.  You need to be carefully not to hit any nails or other metal, but otherwise it is a simple job.  Removing the asphalt from the roof is a little more time consuming.

With the roof removed, it is fairly easy to dismantle with the aid of a chainsaw. You need to be carefully not to hit any nails or other metal, but otherwise it is a simple job. Removing the asphalt from the roof is a little more time consuming.

Once the roof is removed the rest of the shed comes down fairly easily.  The real problem is the size of the panels that makes them too heavy to carry and these need to but cut up into smaller pieces.  Again, a chainsaw comes in handy!

Once the roof is removed the rest of the shed comes down fairly easily. The real problem is the size of the panels that makes them too heavy to carry and these need to but cut up into smaller pieces. Again, a chainsaw comes in handy!

It is starting to get dark, so it must be time to go to the pub.  Once all the remnants of the shed have been removed, the base will need to be put on it's side and cut into pieces before it goes on the bonfire.

It is starting to get dark, so it must be time to go to the pub. Once all the remnants of the shed have been removed, the base will need to be put on it’s side and cut into pieces before it goes on the bonfire.

Dry stone walling – Day 9

It rained and it rained.  I put on some foul weather gear.  But after about 30 minutes I had to admit defeat – the area around the base of the wall had turned to a quagmire – I was slipping and sliding all over the place.  When carrying large stones this seemed like a recipe for disaster.  Time for a new plan.

I swapped to stripping out the next section of wall, but after a while I had to give up on this too.  The last resort was pruning the apple trees in the orchard.  These haven’t been pruned in years and are probably well passed being saved, however, it is worth a shot.  I have attempted to thin out the canopy on each of the trees – particularly were a number of the branches had grown in on themselves.  Hopefully, this should bring some more light to the inner parts of the tree.  I also removed any branches that were growing downwards or were damaged.

There is a crab apple tree amongst the fruit trees.  Jo made some crab apple jelly a few weeks ago and we decided to collect some more for crab apple vodka – like sloe gin, but with crab apples and vodka.  Sounds a bit more interesting than jelly, but we will see.


Crab apples – these appear to be a yellow variety, other varieties are red

 The rain stopped, briefly, in the afternoon and I returned to the dry stone walling.  With such a long section, progress looks slow.  The first couple of courses are hard work since many of the larger stones go into the base of the wall.  It can be a bit disheartening.

Day 9 – Mud everywhere!

Dry stone walling – Day 8

Back in the orchard again today.  The top photograph shows the part of the wall that I built last weekend – probably only a metre or so.  Today, I turned my attention to building this wall out.  Rather than just concentrating on one small section, I have dug out the foundations for the next 4 metre section.  It took about 3 hours to dismantle the existing wall and dig the foundations.  It took another hour to lay the foundation stones.

All in all, a good day. 

By concentrating on digging out the foundations, this will help speed up the building of the wall and also gets the foundations dug before the winter frost sets in and the ground freezes (making it difficult, if not impossible, to dig the foundations).

Last week’s wall in the background and the new foundations


Looking in the opposite direction showing the newly dismantled wall and new foundations

Now with the foundation stones


Apple juice from the orchard

We collected about 4 large sacks of apples from the orchard a couple of weeks ago.  Rob North pressed the apples to use the juice for cider, but he dropped off a litre of apple juice yesterday afternoon.  It actually tastes remarkably alright – the apples were a little to sharp too eat, but the juice is very drinkable.

Juice from the orchard courtesy of Rob North

Clearing out the orchard – Day 4

Well, I am getting the feeling that we are making progress – you can now see all of the dry stone wall along the one edge (and strangely enough, the wall that was under the brambles is in the best shape) and the grass is starting to grow under the trees now the undergrowth has been cleared.

I spent today working in the corner clearing out the holly.  This is hard work and I needed to clear around 10 feet of holly from around the base of the tree before I could attend to the trees.  It is difficult to believe that this took most of the day. This corner is now cleared out and I can start on the other task in this corner – rebuilding the dry stone wall. 

My enthusiam (and confidence) boosted by my dry stone walling efforts in the top field, I am going to make a start on rebuilding this wall next.  This wall will be seen my anyone visiting the house, so it had better be reasonable!

The holly is now gone revealing the old wall – not the one to the right, but the one the other side of the large tree.

And then the last task of the day was to get rid of the material from thinning out the orchard – the large pieces of timber were cut into logs, but this left a lot of smaller pieces. This made a great bonfire.

About 2/3 of all the material from the orchard went on the bonfire.  I will burn the rest when it is a bit drier.

Clearing out the orchard – Day 3

This time it is the turn of the brambles that have overgrown the existing dry stone wall to get some attention.  Removing them was made more difficult due to an old barbwire fence that was entangled in the undergrowth.  Carefully snipping this out a section at time using wire cutters made life a lot easier.  Fitting the metal blade to the brush cutter also made the job easier. 

Four hours and we had cleared out the 10 metre section of undergrowth.  It all went onto a bonfire in the middle of the orchard.  It is amazing how well this material burnt down.  There is only a small pile of ash left (which will go around the base of the apple trees – I am told that it is good for them.

Now you can see the wall that was previously hidden by the brambles


Brambles all gone – we will need to dig out the roots, but we can do this when the wall is re-built

Clearing out the orchard – Day 2

Well, I have been slowly clearing out the orchard – taking out the mass of undergrowth and the non-fruit trees.  It has been a slow task and when I look that the orchard itself, I am not sure that it has made that much difference.  However, when I look at the mass of vegetation that is on the “bonfire”, I begin to realise exactly how much material has been taken out. 

I am still clearing out material around the trees on the edge of the adjoining field as well cutting back the brambles that have engulfed the dry stone wall that lines the one edge of the field.  I am reluctant to pull too hard on the brambles as it is likely to damage what remains of the wall in the process.  So again this is slow work.


The cleared out orchard – the brambles have still to go

Another view of the orchard

The growing mound of vegetation
« Older posts Newer posts »

© 2024 Hagg Leys Farm

Theme by Anders NorenUp ↑