Day six and time for a new location. Having had some success with my initial attempts at dry stone walling, I have now turned to a location that is a lot more visible and will be seen by visitors to the house. At least I know it will look half decent when finished!
The wall being rebuilt is the one to the left of the top photograph. It is in pretty poor shape and has collapsed into the adjoining field. The first job is to strip out all the existing stones and dig new foundations. The fields are at slightly different levels – the adjoining field is around 18 inches lower than on my side. There is a wire fence on the other side of the wall, but there is a 3 feet between the wall and the fence making it possible to work on that side without having to take the fence down.
Once the stones are removed, I have stacked them according to their size. I put coping stones (the ones that go on top of the wall) to one side, then stack the others with the face of the stone facing upwards. Smaller stones next to the coping stones and then the larger ones stacked closer to the wall – this means that I don’t have to carry the bigger stones as far. By stacking the stones with their faces up, it means that selecting stones when rebuilding the wall becomes that much quicker.
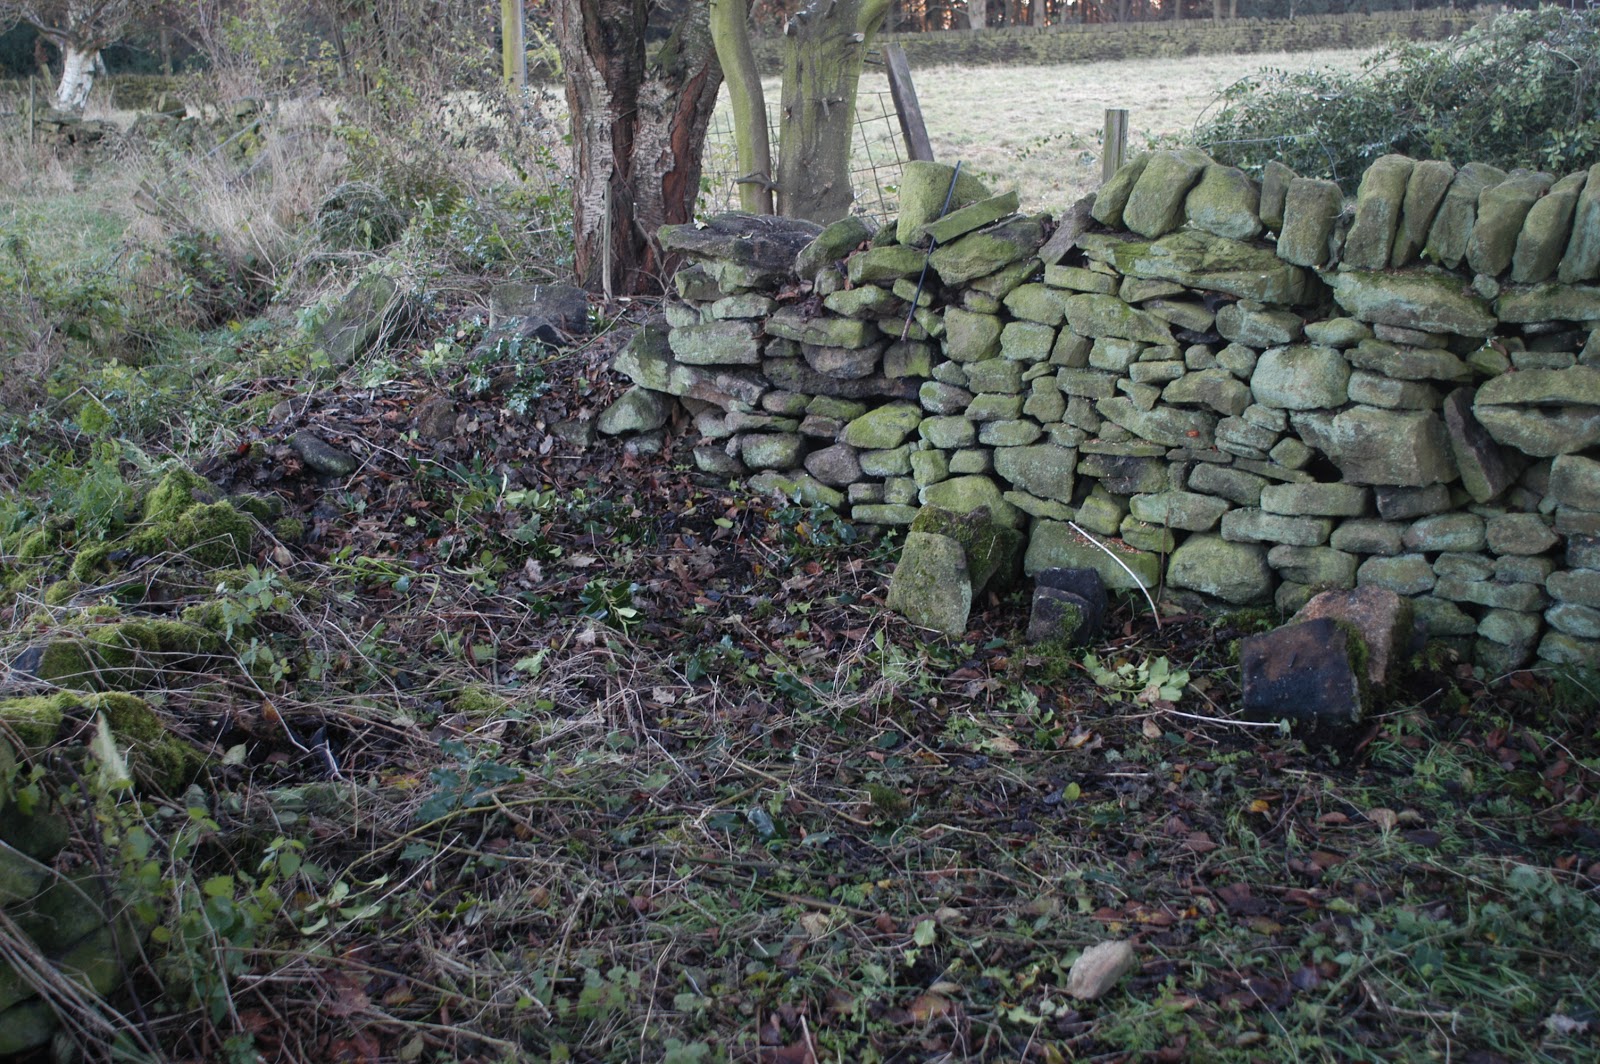 |
| Just starting to dismantle the wall on the left (yes, it is there under that mound) |
 |
| The stacks of stones starting to grow – the coping stones are stacked furthest away from the wall as they go on last. |