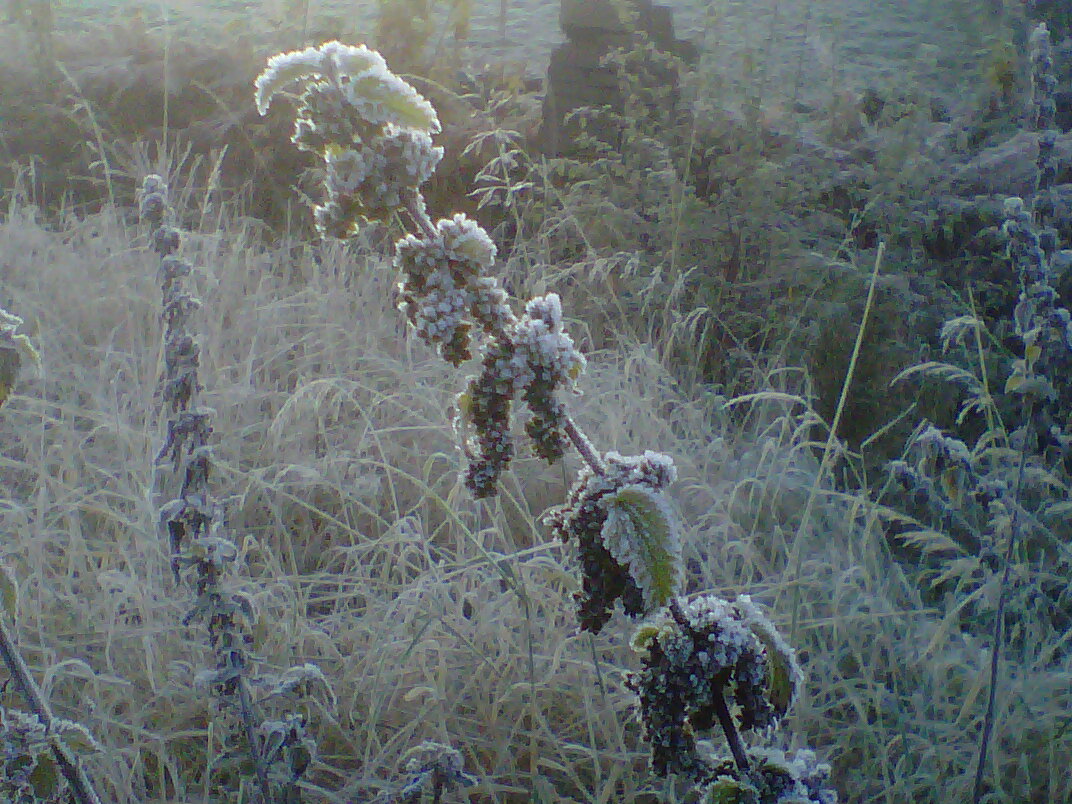
We have had a few cold mornings recently, but this is the first real frost that we have had this year. It makes everything look so pretty.

Well, I have been slowly clearing out the orchard – taking out the mass of undergrowth and the non-fruit trees. It has been a slow task and when I look that the orchard itself, I am not sure that it has made that much difference. However, when I look at the mass of vegetation that is on the “bonfire”, I begin to realise exactly how much material has been taken out.
I am still clearing out material around the trees on the edge of the adjoining field as well cutting back the brambles that have engulfed the dry stone wall that lines the one edge of the field. I am reluctant to pull too hard on the brambles as it is likely to damage what remains of the wall in the process. So again this is slow work.
 |
| The cleared out orchard – the brambles have still to go |
 |
| Another view of the orchard |
 |
| The growing mound of vegetation |
Day 5 and the first section of wall is now finished. Yes, I know, it is only 2 metres long, but it does give an indication of what the finished wall will look like.
I was watching the weather forecasts this week and today was a cracker. And with some holidays to use up at work, it was too good an opportunity to turn down. With one final push, I thought I might be able to finish this section. With an early start, I was putting the coping stones on just after lunch.
 |
| First section of wall completed |
 |
|
The wall from the other side – ground level on this side of the wall is lower
|
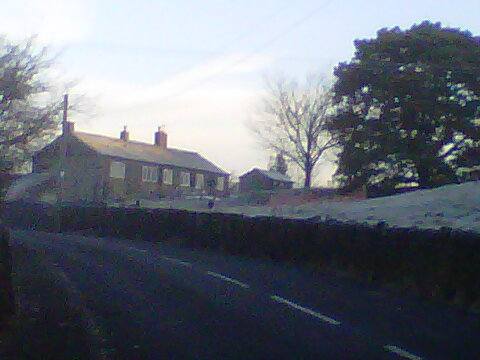
Here’s some more images of the property as it is today. You will have seen photos of the property elsewhere on the site (see here), as well as the architects drawings of the existing elevations (see here). However, the below image is a pseudo 3D view produced using Microsoft Photosynth. The image below will allow you to scroll left-right as well as up-down.
There was taken on an early (and view cold October) morning. The sun is very strong and you can see my shadow in the foreground of the image. This image was constructed using Photosynth running on an iPod Touch.
You may need to install Microsoft Silverlight to be able to view the image.
Well, it wasn’t really a whole day – just a morning as I got distracted.
I spent about 3 hours this morning dis-assembling and digging out the footings for another 2m stretch of wall. I am being “less precise” with this stretch of the wall and doing the best I can with the current wall stone. Yes, it is horrible and rounded, but for this field wall I am just going to have to do my best. Shipping in huge amounts of new stone to build a field wall seems like a huge amount of wasted time and effort (not to mention money!). I am hoping that by the end of this weekend that I will have at least part of the wall up to the finished height. We will have to see.
 |
| Not much to look at for 2.5 days work. |
I then faced two distractions in the afternoon. Firstly, measuring out where the new extension will be and marking this out on the ground. I haven’t got an electronic version of the plans, so haven’t had chance to post them here yet. Jo is concerned that you will be able to see into the master bedroom from the road. I took the new plans that we have and used road pins to mark out where the master bedroom is going to be. This was a useful exercise. We now know that it will be very difficult to see into the bedroom from road level. And if we are still in any doub, a small dry stone wall on the crest of the rise would totally block the view from the road.
The second distraction was cutting the grass on the top field. Rob kindly brought his tractor (and daughter – Ellie) to help with the job. It took about an hour or so to cut the grass. Strangely, it has a tendency to find all the stones in the field! This slowed progress, but I now think that the majority of the loose stones have been removed. We will have to see. This is the last time that the field will have to be cut this year.
 |
| Rob showing the grass whose boss! |
 |
| Rob and Ellie – Houston we have a problem! |
The lower field has a lot more of slope, so the current plan is to graze some sheep in the lower field to get the grass down to more of a manageable level. We just need to find out where we can borrow some sheep from!
Well after the progress made yesterday – wall dismantled, foundations dug and first course laid – today was somewhat disappointing. Disheartening even. In 4 hours, I managed 6 or so courses and the 2m section of wall I was working on reached about 0.5m, maybe less. The main problem (besides my lack of skill) is that most of the stones that make up the wall are pretty much rounded boulders. The rock is made up of very coarse gritstone which is very soft and crumbly – you could try and shape it with a hammer, but that is going to be real hard work.
 |
| Setting out the new section of wall |
 |
| Not much for two days work – a (very small) wall and a lot of left over boulders |
As far as I can see, Option 2 is the only real practical solution. I could do with getting some advice from someone with a lot more experience than me. Just in case I am missing something obvious – it is a lot of work for some to then point out that there was an easier solution!
The next step has to be looking at the other field walls and finding a section that is relatively intact. This will give an idea of the size and proportion of the walls. I can then see if we can build something that is similar. Ho hum.
It would have been easy to have started making minor repairs to some of the walls, but I decided that it would be better (and more rewarding) to completely dismantle a section of all and rebuild it.
I decided that the best place was one of the walls where I could make some mistakes, well out of sight. With potentially 150m of wall to be repaired, the task is fairly daunting. So I thought it would better to strip down and repair a 2m section. Let’s not strip down 10m, then work out that I can’t really rebuild it!
 |
| All in n a day’s work |
 |
| A stripped out section of wall and the foundation stones |
So today in 4 hours, I managed to strip down a 2m section, dig the foundations and put in the foundation stones. Tomorrow, I will see if I can rebuild this section of wall up to the coping stones.
I did take a while to mark out the line of the wall (to ensure that my 2m section is in line with the remainder of the wall). The road pins in the photos are set to be 600mm at the base of the wall and 300mm at the top (set as a metre high). The top of the road pins are held in place with some home made wooden clamps.
Here’s some photographs of the property as it is today. It is organised as a small attached cottage, a larger cottage and an unconverted barn. All on a 2 acre plot of land.
From the road. The odd shaped building to the right of the picture is a coal hole. This odd shaped part of the building seems to be fairly original as it appears on even the oldest of the maps that we have found. Take a close look at the 1788 map, particularly where the property adjoins the road. The porch is for the small attached cottage.

From the back of the property. This is the view from the back of the top field. The unconverted barn is at this end of the property. It has clearly been rebuilt in recent years, but is still unconverted. The lower photograph is the rear of the property, but this time from the bottom field looking up. The odd shaped appendage is the back of the coal hole seen above.
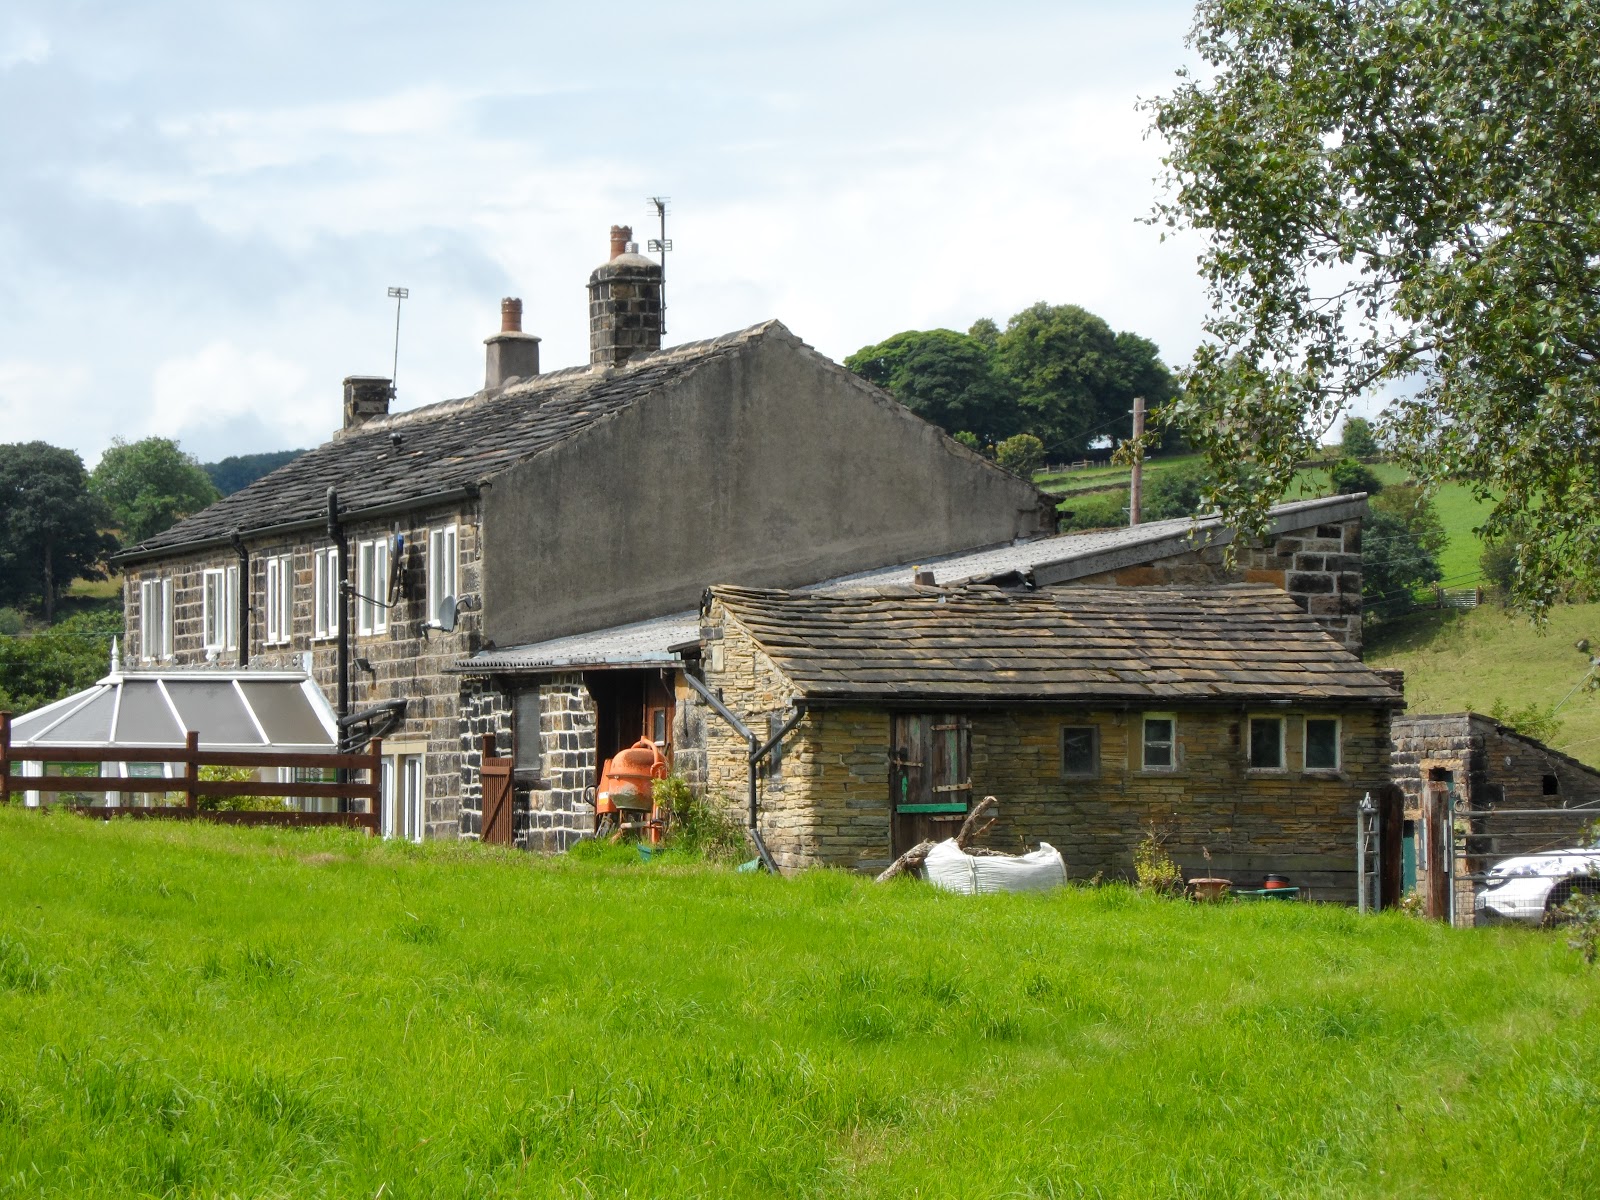


The unconverted barn. This has a sloping roof and has two floor levels inside. The lower floor level is the same level as the ground floor in the adjacent property.

© 2026 Hagg Leys Farm
Theme by Anders Noren — Up ↑