Category: photographs (Page 3 of 4)

Planning permission notice

It has been a couple of weeks since we applied for planning permission and the notice was posted this week – it has been attached to the telegraph pole just outside the property.

Planning permission notice

The closing date for comments is 18th December and the planning application can be viewed online.

Dry stone walling – Day 10

Same location as the previous day’s dry stone walling.  Today is cold – just above freezing – the water in the buckets from last weekend have an inch of ice in them.  I only turned in a couple of hours as it was just too cold.  These first few courses are the most difficult – they tend to have the biggest stones in them which take quite a bit of placing and fitting.

Day 10 – almost at ground level!

Dry stone walling – Day 9

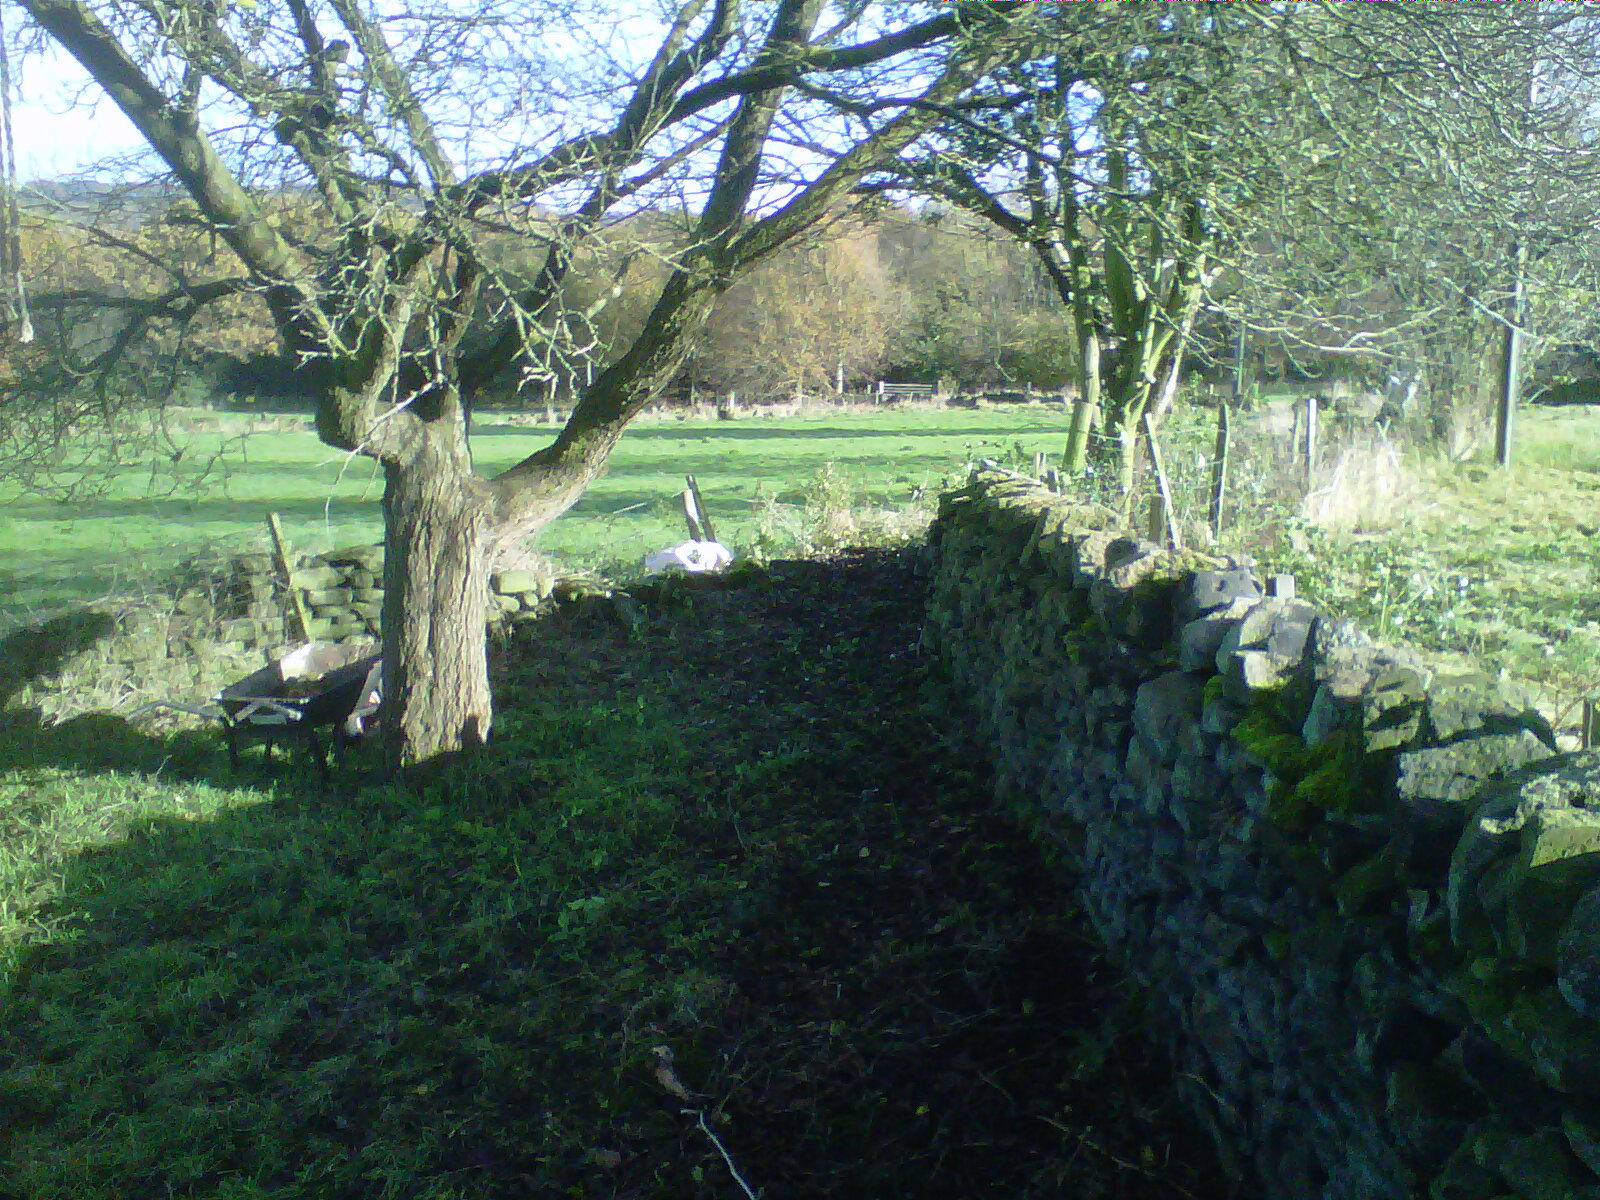
It rained and it rained.  I put on some foul weather gear.  But after about 30 minutes I had to admit defeat – the area around the base of the wall had turned to a quagmire – I was slipping and sliding all over the place.  When carrying large stones this seemed like a recipe for disaster.  Time for a new plan.

I swapped to stripping out the next section of wall, but after a while I had to give up on this too.  The last resort was pruning the apple trees in the orchard.  These haven’t been pruned in years and are probably well passed being saved, however, it is worth a shot.  I have attempted to thin out the canopy on each of the trees – particularly were a number of the branches had grown in on themselves.  Hopefully, this should bring some more light to the inner parts of the tree.  I also removed any branches that were growing downwards or were damaged.

There is a crab apple tree amongst the fruit trees.  Jo made some crab apple jelly a few weeks ago and we decided to collect some more for crab apple vodka – like sloe gin, but with crab apples and vodka.  Sounds a bit more interesting than jelly, but we will see.


Crab apples – these appear to be a yellow variety, other varieties are red

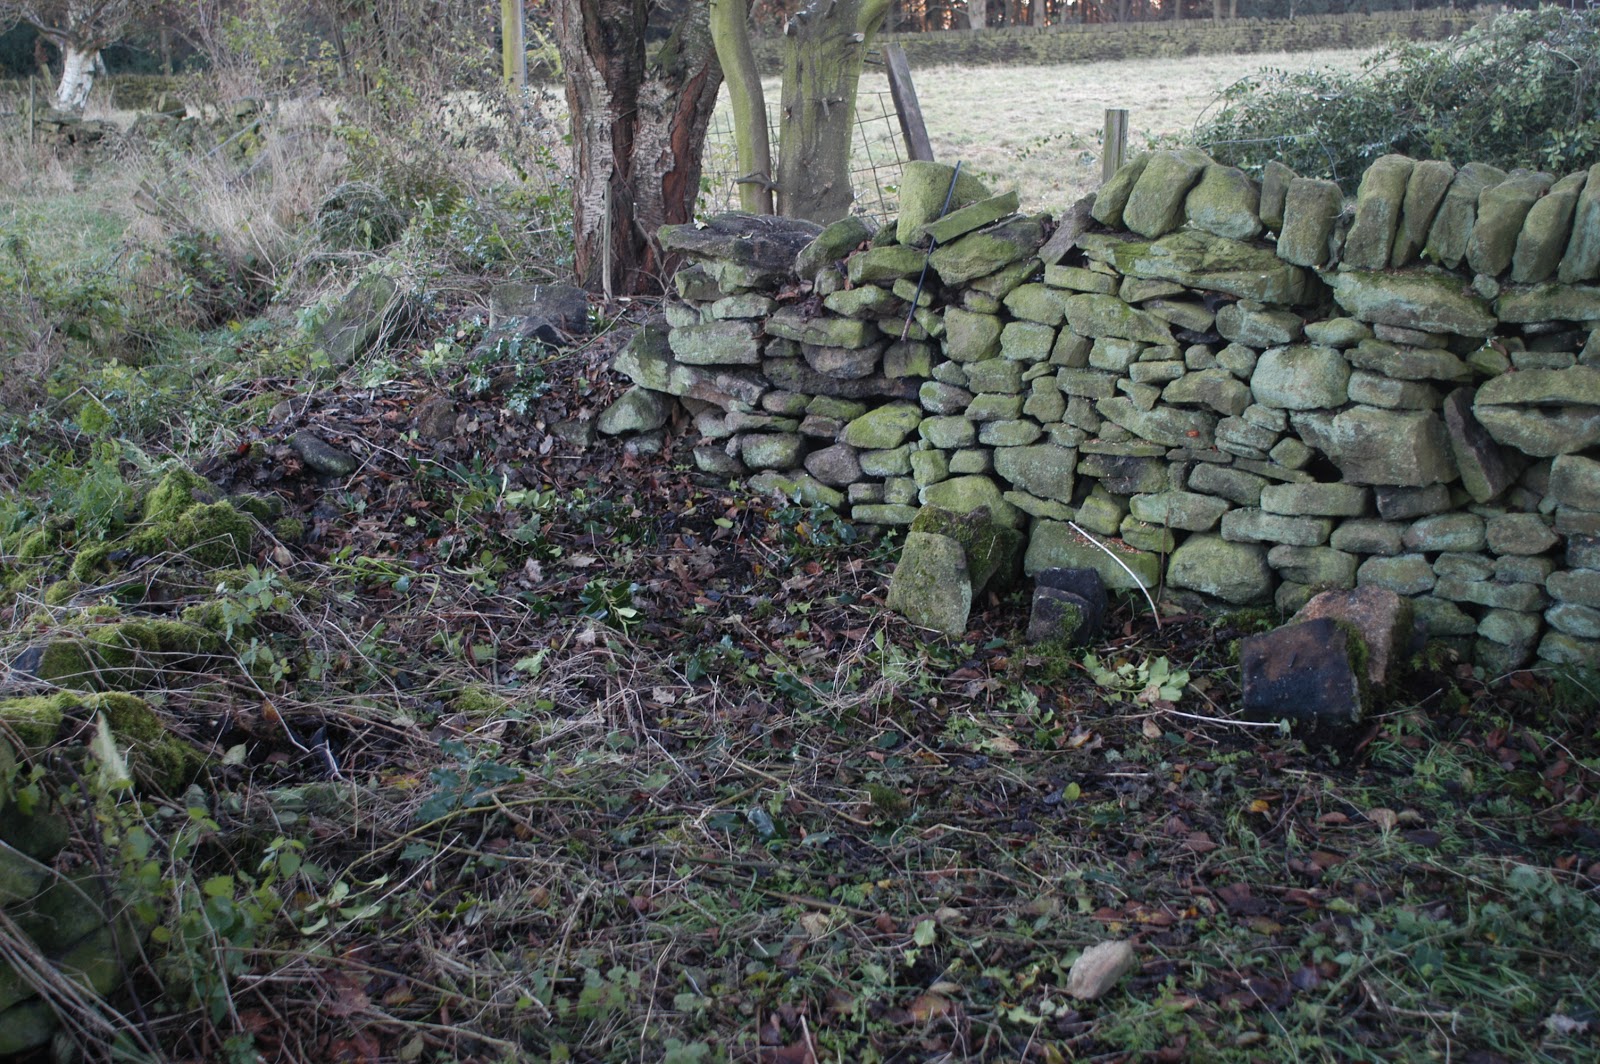
 The rain stopped, briefly, in the afternoon and I returned to the dry stone walling.  With such a long section, progress looks slow.  The first couple of courses are hard work since many of the larger stones go into the base of the wall.  It can be a bit disheartening.

Day 9 – Mud everywhere!

Dry stone walling – Day 8

Back in the orchard again today.  The top photograph shows the part of the wall that I built last weekend – probably only a metre or so.  Today, I turned my attention to building this wall out.  Rather than just concentrating on one small section, I have dug out the foundations for the next 4 metre section.  It took about 3 hours to dismantle the existing wall and dig the foundations.  It took another hour to lay the foundation stones.

All in all, a good day. 

By concentrating on digging out the foundations, this will help speed up the building of the wall and also gets the foundations dug before the winter frost sets in and the ground freezes (making it difficult, if not impossible, to dig the foundations).

Last week’s wall in the background and the new foundations


Looking in the opposite direction showing the newly dismantled wall and new foundations

Now with the foundation stones


Dry stone walling – Day 7

I have started working in the top corner of the orchard.  On Day 6, I dismantled what was left of the existing wall and it is amazing how much stone can come out of such a small section of wall, particularly when many of them are deeply embedded in the ground – they must have fallen off the wall many years ago.
 
 
So Day 7 started with digging out the foundations.  This involves removing all of the stones down to the subsoil – you can tell when to stop because the soil changes colour.  All dug by hand with a pick and shovel. 
Day 7 – Foundations dug
I established the route of the wall by using a line along the existing part of the wall.  You can just see the yellow line in photograph above.  Once this is worked out, I put up the two end frames that define the angle (referred to as “batter”) of the wall – 600mm at the base of the wall and 300mm at the top of the wall.  The wall is 1 metre high (well, when measured from the other side of the wall that is lower.
Once the foundations are dug, it is time to build the wall – one layer at a time.  At the end of Day 7, the first metre of wall is up and the coping stones are now placed on top.
 
Another metre of wall

Day 7 – today’s efforts

Dry stone walling – Day 6

Day six and time for a new location.  Having had some success with my initial attempts at dry stone walling, I have now turned to a location that is a lot more visible and will be seen by visitors to the house.  At least I know it will look half decent when finished!

The wall being rebuilt is the one to the left of the top photograph.  It is in pretty poor shape and has collapsed into the adjoining field.  The first job is to strip out all the existing stones and dig new foundations.  The fields are at slightly different levels – the adjoining field is around 18 inches lower than on my side.  There is a wire fence on the other side of the wall, but there is a 3 feet between the wall and the fence making it possible to work on that side without having to take the fence down.

Once the stones are removed, I have stacked them according to their size.  I put coping stones (the ones that go on top of the wall) to one side, then stack the others with the face of the stone facing upwards.  Smaller stones next to the coping stones and then the larger ones stacked closer to the wall – this means that I don’t have to carry the bigger stones as far.  By stacking the stones with their faces up, it means that selecting stones when rebuilding the wall becomes that much quicker.

Just starting to dismantle the wall on the left (yes, it is there under that mound)
 
The stacks of stones starting to grow – the coping stones are stacked furthest away from the wall as they go on last.
 

William Stones bottle stopper

I found this when stripping the dry stone wall apart today.  The Cannon Brewey opened in 1868 and closed in 1999.  I reckon this one dates to around the turn of the century – crown bottle tops became popular after this date.

Clearing out the orchard – Day 4

Well, I am getting the feeling that we are making progress – you can now see all of the dry stone wall along the one edge (and strangely enough, the wall that was under the brambles is in the best shape) and the grass is starting to grow under the trees now the undergrowth has been cleared.

I spent today working in the corner clearing out the holly.  This is hard work and I needed to clear around 10 feet of holly from around the base of the tree before I could attend to the trees.  It is difficult to believe that this took most of the day. This corner is now cleared out and I can start on the other task in this corner – rebuilding the dry stone wall. 

My enthusiam (and confidence) boosted by my dry stone walling efforts in the top field, I am going to make a start on rebuilding this wall next.  This wall will be seen my anyone visiting the house, so it had better be reasonable!

The holly is now gone revealing the old wall – not the one to the right, but the one the other side of the large tree.

And then the last task of the day was to get rid of the material from thinning out the orchard – the large pieces of timber were cut into logs, but this left a lot of smaller pieces. This made a great bonfire.

About 2/3 of all the material from the orchard went on the bonfire.  I will burn the rest when it is a bit drier.

Cellars

I haven’t posted any of these photos before, but that is because we haven’t really worked out what to do with this space.  The cellar runs under what we have been number 8 and number 9. I suspect that they have always been a single cellar since there is only one stair case (which is from number 8).
They are remarkably clean and dry. This is no doubt due to the amount of air circulating through the holes in the walls.  The roof is made up of large stone slabs and this makes up the floor of the room above. The walls are all made of stone that has been whitewashed with stone shelves, presumably for storing food.
These cellars are original to the property so are likely to date back to around 1750, maybe earlier.

Clearing out the orchard – Day 3

This time it is the turn of the brambles that have overgrown the existing dry stone wall to get some attention.  Removing them was made more difficult due to an old barbwire fence that was entangled in the undergrowth.  Carefully snipping this out a section at time using wire cutters made life a lot easier.  Fitting the metal blade to the brush cutter also made the job easier. 

Four hours and we had cleared out the 10 metre section of undergrowth.  It all went onto a bonfire in the middle of the orchard.  It is amazing how well this material burnt down.  There is only a small pile of ash left (which will go around the base of the apple trees – I am told that it is good for them.

Now you can see the wall that was previously hidden by the brambles


Brambles all gone – we will need to dig out the roots, but we can do this when the wall is re-built
« Older posts Newer posts »

© 2024 Hagg Leys Farm

Theme by Anders NorenUp ↑