Page 62 of 67

Budgeting: Starting the process

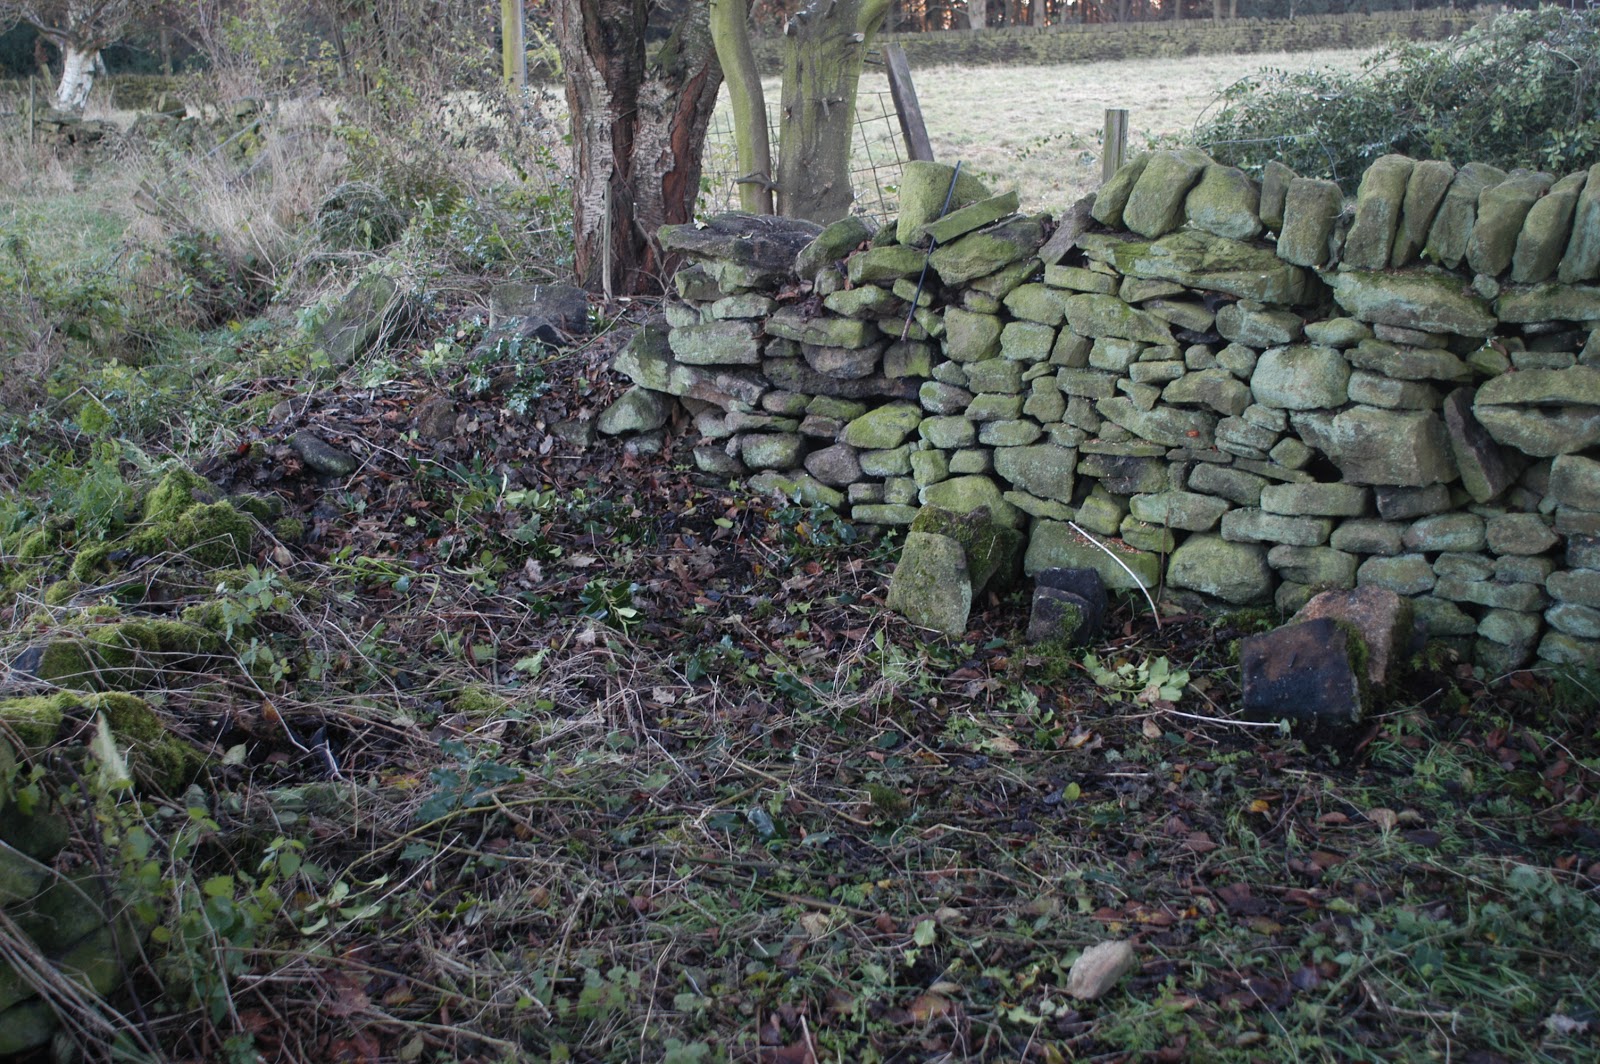
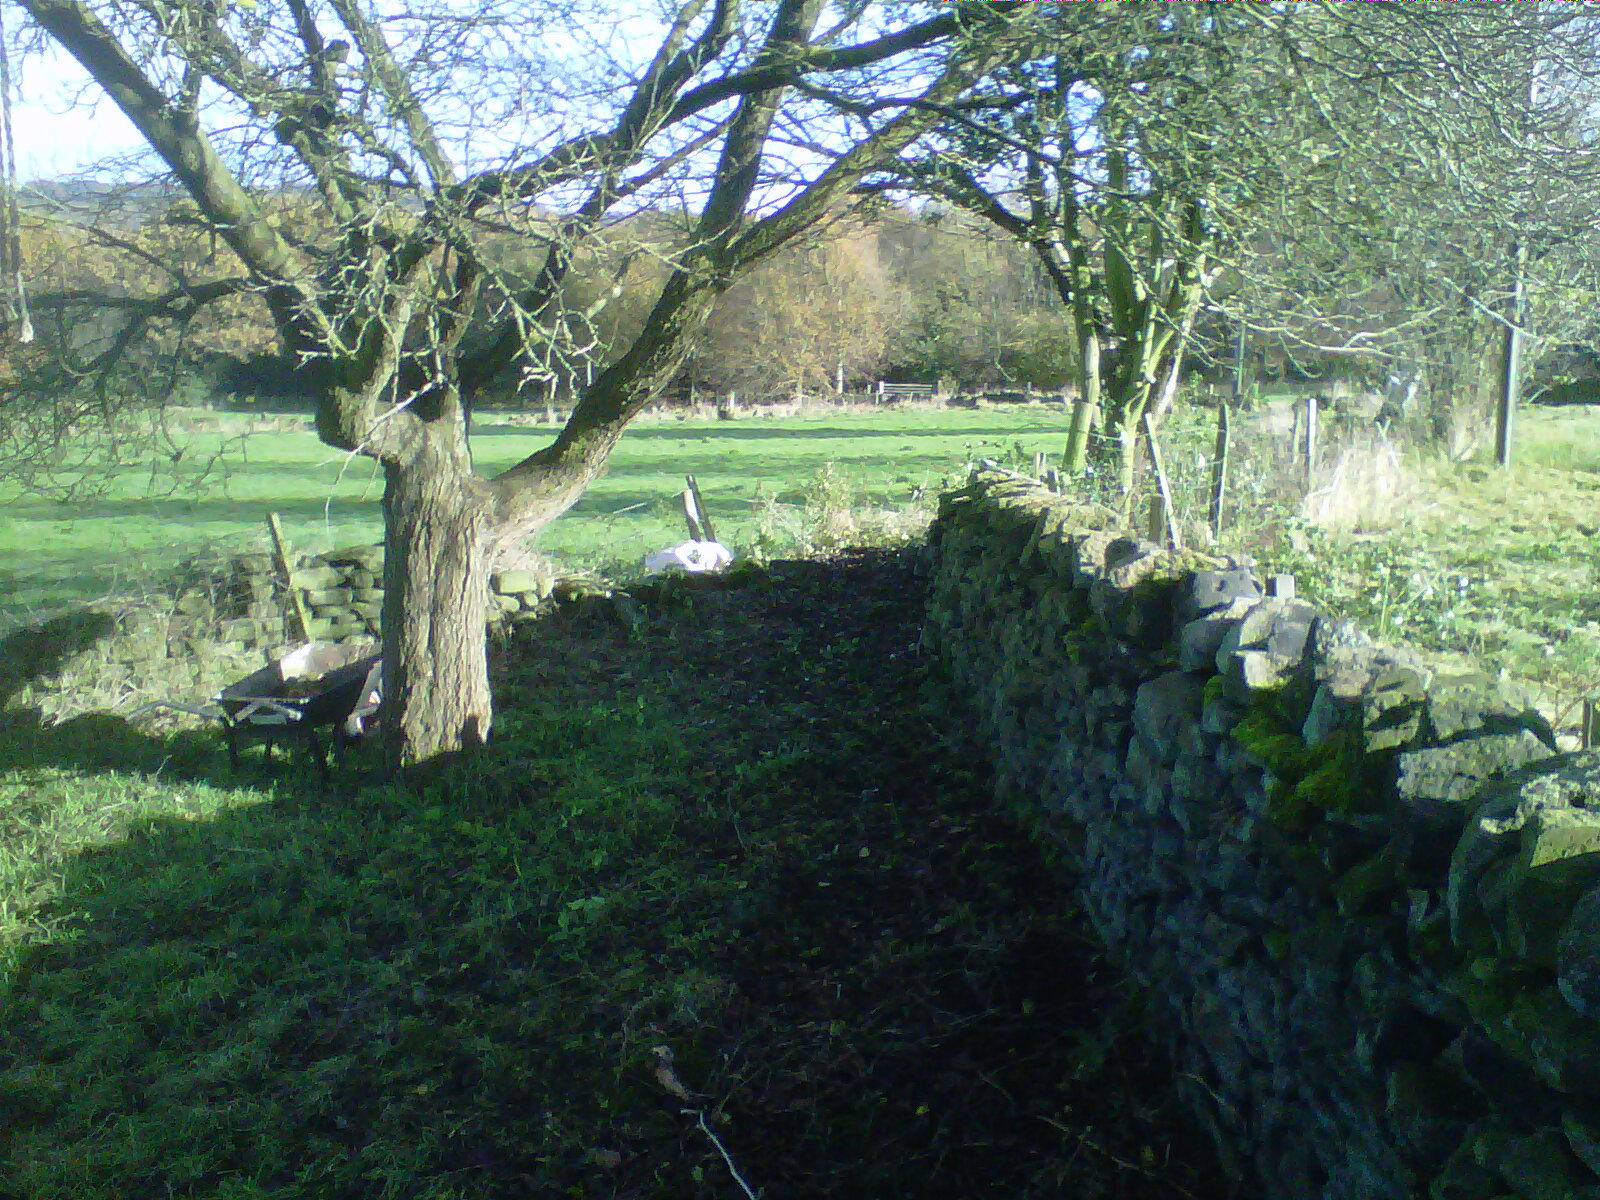
Before we submitted the plans to the planning department, we thought it might be a good idea to start pulling together some estimates.   We already had a budget that we were working to and this was part of the brief that we had given Mark, the architect.  However, there is no point in putting something through planning that you simply can’t afford to build.  This turned out to be a smart move. 

We engaged a Quantity Surveyor (QS) via the architect who took the Mark’s designs and produced a set of rough estimates.  These are based purely on the current designs and some prior knowledge of what it takes to build/renovate properties like these and in this part of the world.  In fact, the QS managed to produce a set of estimates without visiting the site – based purely on the work that needed to be done and the amount of space/materials involved.  At this stage, the estimates can only be very rough.

But they only need to be rough.  The initial set of figures showed that we were already over budget by about 20%.  While you can reduce costs by cutting back on some of the footprint, you aren’t going to save huge amounts.  We took the decision to lose the garage/office on the basis that this could be added in at a later date and it might also have been difficult to get through planning.  Getting rid of this element of the decision would also save time and money – the design of the garage/office was still only at a formative stage when we took the decision to scrap it.

However, the whole process did underline how important it is to understand your priorities and make compromises accordingly.  We still won’t know the final figures until once the planning permission has been granted – after all, some key parts of the design might get rejected and this could have a huge impact on the budget.

Dry stone walling – Day 6

Day six and time for a new location.  Having had some success with my initial attempts at dry stone walling, I have now turned to a location that is a lot more visible and will be seen by visitors to the house.  At least I know it will look half decent when finished!

The wall being rebuilt is the one to the left of the top photograph.  It is in pretty poor shape and has collapsed into the adjoining field.  The first job is to strip out all the existing stones and dig new foundations.  The fields are at slightly different levels – the adjoining field is around 18 inches lower than on my side.  There is a wire fence on the other side of the wall, but there is a 3 feet between the wall and the fence making it possible to work on that side without having to take the fence down.

Once the stones are removed, I have stacked them according to their size.  I put coping stones (the ones that go on top of the wall) to one side, then stack the others with the face of the stone facing upwards.  Smaller stones next to the coping stones and then the larger ones stacked closer to the wall – this means that I don’t have to carry the bigger stones as far.  By stacking the stones with their faces up, it means that selecting stones when rebuilding the wall becomes that much quicker.

Just starting to dismantle the wall on the left (yes, it is there under that mound)
 
The stacks of stones starting to grow – the coping stones are stacked furthest away from the wall as they go on last.
 

William Stones bottle stopper

I found this when stripping the dry stone wall apart today.  The Cannon Brewey opened in 1868 and closed in 1999.  I reckon this one dates to around the turn of the century – crown bottle tops became popular after this date.

A 3D view…

3D artist’s impression of the renovations

The plans have now been submitted to the local planning department and although the 3D drawings are not part of the planning process, they do provide a clue to what the building will look like when finished.  You can see the main building is left pretty much as it is today (although minus the conservatory).  The barn on the end has become the corner of the L shape which is then extended out for the lounge and the master bedroom.

The roof line on the extension stays constant even though the ground rises upward.  The rooms inside flow when the natural rise in the land.  The garden area is split into two distinct spaces – a lower garden accessible from the lounge and a higher garden accessible from the master bedroom.  The roofline in the extension is at a lower level than the main house (pretty much as it is today) to give a clear separation between old and new.

Clearing out the orchard – Day 4

Well, I am getting the feeling that we are making progress – you can now see all of the dry stone wall along the one edge (and strangely enough, the wall that was under the brambles is in the best shape) and the grass is starting to grow under the trees now the undergrowth has been cleared.

I spent today working in the corner clearing out the holly.  This is hard work and I needed to clear around 10 feet of holly from around the base of the tree before I could attend to the trees.  It is difficult to believe that this took most of the day. This corner is now cleared out and I can start on the other task in this corner – rebuilding the dry stone wall. 

My enthusiam (and confidence) boosted by my dry stone walling efforts in the top field, I am going to make a start on rebuilding this wall next.  This wall will be seen my anyone visiting the house, so it had better be reasonable!

The holly is now gone revealing the old wall – not the one to the right, but the one the other side of the large tree.

And then the last task of the day was to get rid of the material from thinning out the orchard – the large pieces of timber were cut into logs, but this left a lot of smaller pieces. This made a great bonfire.

About 2/3 of all the material from the orchard went on the bonfire.  I will burn the rest when it is a bit drier.

Cellars

I haven’t posted any of these photos before, but that is because we haven’t really worked out what to do with this space.  The cellar runs under what we have been number 8 and number 9. I suspect that they have always been a single cellar since there is only one stair case (which is from number 8).
They are remarkably clean and dry. This is no doubt due to the amount of air circulating through the holes in the walls.  The roof is made up of large stone slabs and this makes up the floor of the room above. The walls are all made of stone that has been whitewashed with stone shelves, presumably for storing food.
These cellars are original to the property so are likely to date back to around 1750, maybe earlier.

Clearing out the orchard – Day 3

This time it is the turn of the brambles that have overgrown the existing dry stone wall to get some attention.  Removing them was made more difficult due to an old barbwire fence that was entangled in the undergrowth.  Carefully snipping this out a section at time using wire cutters made life a lot easier.  Fitting the metal blade to the brush cutter also made the job easier. 

Four hours and we had cleared out the 10 metre section of undergrowth.  It all went onto a bonfire in the middle of the orchard.  It is amazing how well this material burnt down.  There is only a small pile of ash left (which will go around the base of the apple trees – I am told that it is good for them.

Now you can see the wall that was previously hidden by the brambles


Brambles all gone – we will need to dig out the roots, but we can do this when the wall is re-built

Clearing out the orchard – Day 2

Well, I have been slowly clearing out the orchard – taking out the mass of undergrowth and the non-fruit trees.  It has been a slow task and when I look that the orchard itself, I am not sure that it has made that much difference.  However, when I look at the mass of vegetation that is on the “bonfire”, I begin to realise exactly how much material has been taken out. 

I am still clearing out material around the trees on the edge of the adjoining field as well cutting back the brambles that have engulfed the dry stone wall that lines the one edge of the field.  I am reluctant to pull too hard on the brambles as it is likely to damage what remains of the wall in the process.  So again this is slow work.


The cleared out orchard – the brambles have still to go

Another view of the orchard

The growing mound of vegetation
« Older posts Newer posts »

© 2025 Hagg Leys Farm

Theme by Anders NorenUp ↑